

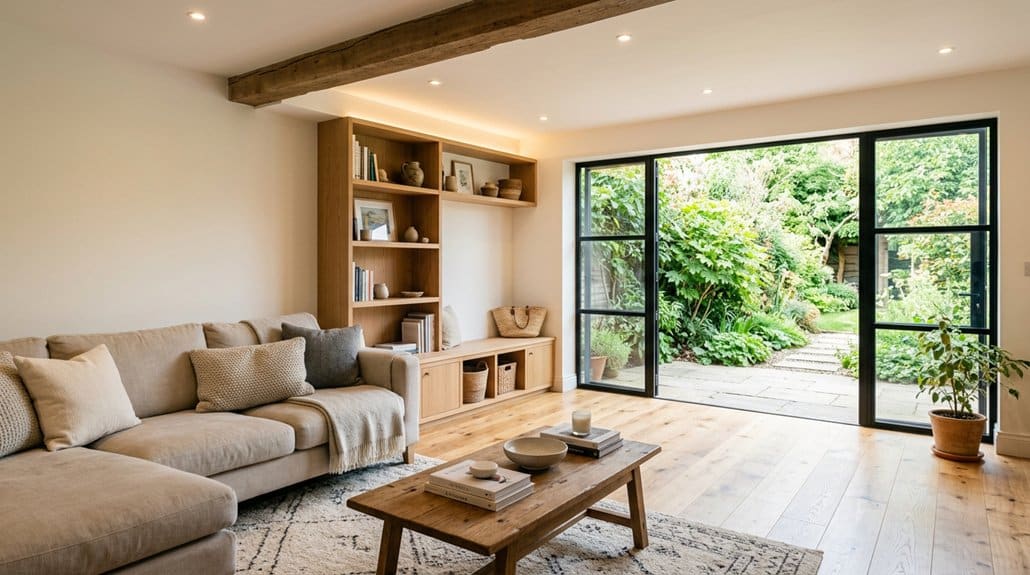
Converting your garage can add useful living space and improve your home’s value, but a successful project takes more than finishing the walls. You’ll need to match the room’s layout to its purpose, check permits and building codes, and address structural, moisture, insulation, and utility concerns before work begins. Each decision affects comfort and safety—and one overlooked requirement can derail the project.
Decide What Your Garage Conversion Needs to Do
Before planning the layout, decide how you’ll use the converted space—such as a bedroom, home office, or living area—because its purpose determines the insulation, ventilation, lighting, plumbing, and electrical work it needs.
List the activities you’ll do there and the equipment they require. A bedroom may need privacy, safe emergency egress, and quiet ventilation; an office may need task lighting, data connections, and dedicated circuits. For a living area, plan comfortable circulation and adequate heating and cooling.
Check the existing slab, walls, and ceiling for moisture, drafts, or damage before covering them. Identify whether you’ll need water lines, drains, or additional outlets, and leave those routes accessible during construction.
Set priorities for storage solutions, then choose decorative accents that won’t block vents, exits, or electrical access. This brief clarifies scope and helps prevent unsafe, costly changes later.
Check Permits, Building Codes, and HOA Rules
Before work begins, check with your local building department to learn which permits your garage conversion requires.
Confirm that your plans meet applicable building, fire, electrical, and ventilation codes to protect occupants and pass inspection.
Review your HOA rules, too, since they may restrict exterior changes or require approval.
Permit Requirements
Which approvals your garage conversion needs depends on local rules, so check with your building department before work begins. Describe your planned room, its intended use, and any changes to walls, windows, plumbing, or electrical systems. Ask which permits you’ll need and whether you must submit drawings, site plans, or contractor details.
Confirm application fees, review times, inspection stages, and required documents before scheduling work. Your project may need separate permits for structural, electrical, plumbing, or mechanical changes. Don’t assume a small conversion is exempt; unapproved work can create safety hazards, delay resale, or require costly removal.
Check zoning regulations to confirm the space can serve your intended purpose. Keep permit approvals and inspection records on site, and arrange each required inspection before covering completed work. Building safety depends on documented, inspected construction.
Codes and HOA Rules
Permit approval doesn’t replace compliance with building codes or HOA rules. Before construction, ask your building department which standards apply to your converted garage. Check requirements for insulation, ventilation, electrical work, ceiling height, emergency egress, and fire separation. Your HOA may also restrict exterior changes, parking, or visible equipment; get written approval before altering doors, windows, or siding.
| Check | What you’ll verify | Practical action |
|---|---|---|
| Egress | Safe exit and window size | Confirm dimensions |
| Fire safety | Garage-home separation | Specify rated materials |
| Utilities | Wiring and ventilation | Hire licensed trades |
| Exterior | Aesthetic design limits | Submit finish samples |
Keep approved plans onsite, schedule required inspections, and correct deficiencies before closing walls. Preserve Home security with compliant locks and windows, and don’t block access routes. If rules conflict, request written guidance before spending on materials. Your inspector and HOA can clarify local requirements.
Set a Realistic Garage Conversion Budget
A realistic budget starts with the conversion’s scope, local labor rates, and required code upgrades. List the room’s intended use, finish level, and must-have features, then request itemized estimates from qualified contractors. Include permits, design fees, materials, labor, and waste removal so you can compare bids accurately.
Set aside a contingency of 10 to 20 percent for approved changes or concealed costs; don’t use it to justify unsafe shortcuts. Price essential work first, then rank optional upgrades by value. If the project exceeds your limit, reduce finishes or phase nonessential features rather than cutting required safety measures.
Include temporary storage or garage organization costs if you’ll need to relocate tools and belongings. Track quotes, allowances, payment dates, and decisions in a budget planning sheet. Confirm what each bid excludes, and get changes in writing before work begins. This keeps spending controlled and expectations clear.
Inspect the Garage’s Structure and Utilities
Before planning finishes, inspect the garage for structural damage and utility constraints that could affect safety or code compliance. Check the slab and perimeter walls for cracks, settlement, moisture, and signs of movement.
Foundation stability matters: document defects and ask a structural engineer to assess serious cracking, uneven floors, or shifting supports before you proceed.
Inspect roof framing, posts, beams, and connections for rot, corrosion, sagging, or insect damage; don’t cover compromised materials.
Review electrical wiring for damaged insulation, exposed conductors, overloaded circuits, and outdated equipment. Turn off power before opening panels, and hire a licensed electrician for testing or repairs.
Locate water lines, drains, gas piping, and the electrical panel, noting leaks, corrosion, access needs, and conflicts with your proposed layout.
Confirm required permits and inspections with your local building department before construction begins.
Plan Insulation, Heating, and Ventilation
Insulate the walls and floor with materials suited to your climate, and seal gaps without trapping moisture.
Choose a properly sized heating system rated for indoor use; don’t use unvented fuel-burning heaters.
Provide ventilation to control moisture and pollutants, following local code.
Insulate Walls and Floors
Once the garage is weather-tight, plan insulation, heating, and ventilation together to control heat loss, moisture, and indoor air quality. Start by checking wall cavities and the slab for dampness; insulation won’t fix leaks, and trapped water can cause mold or decay.
Choose insulation with an appropriate R-value for your climate and framing depth. Fit batts snugly without compressing them, or use rigid boards with sealed joints. Install moisture barriers on the warm side where local code requires them, and avoid trapping moisture between impermeable layers.
Seal gaps around wiring and pipes with approved materials, keeping insulation clear of heat-producing equipment and required clearances. For floors, address slab moisture with a compatible underlayment before adding rigid insulation and a durable subfloor.
Add soundproofing materials where practical, without blocking access to services.
Heat and Ventilate Properly
With the building envelope insulated and sealed, size heating and ventilation for the room’s heat loss, occupancy, and moisture load. Choose equipment rated for the converted space, not the garage’s former use. A qualified HVAC professional can verify capacity, combustion safety, and code compliance.
| Need | Practical choice | Safety check |
|---|---|---|
| Heating | Ductless heat pump | Confirm electrical capacity |
| Fresh air | Balanced ventilation | Keep intakes unobstructed |
| Bath or laundry | Exhaust fan | Vent outdoors |
| Airflow optimization | Supply and return paths | Avoid blocked grilles |
Use moisture control measures, including exhaust at wet areas and sealed duct joints. Don’t use an unvented fuel-burning heater; carbon monoxide can build up. Install required alarms, and test them regularly. Balance airflow after installation, then check filters and vents seasonally to maintain comfort and safe operation.
Choose Windows, Doors, Lighting, and Layout
Plan windows, doors, lighting, and layout together so the converted garage meets your needs without compromising safety or code compliance. Compare window styles for daylight, privacy, ventilation, and emergency egress; confirm required opening dimensions with your local building department.
Review door options based on room use, security, accessibility, and fire separation from the house. Keep the existing garage door only if you can insulate and secure it appropriately, or replace it with a code-compliant wall and entry.
Map furniture and circulation before placing outlets, switches, and fixtures. Use layered lighting, including task lighting, and position controls near entrances.
Avoid dark corners and guarantee stairs or level changes are clearly lit. Maintain clear exit paths, preserve access to electrical panels, and verify permits, glazing safety, and required smoke or carbon monoxide alarms before construction.
Finish the Walls, Floors, and Ceiling
After finalizing the layout and lighting, choose wall, floor, and ceiling finishes that control moisture, improve comfort, and meet fire and building codes.
Inspect framing for dampness, pests, and damage before covering it; correct problems and seal air leaks first.
Install code-compliant insulation and a continuous vapor retarder where required for your climate.
Use approved gypsum board or another permitted wall assembly, and confirm fire-separation requirements with your building department.
Select washable wall textures that suit the room and won’t conceal future moisture damage.
For flooring materials, test the slab for moisture, repair cracks, and add a compatible vapor barrier before installing the finish.
Avoid covering active leaks or uneven concrete.
Finish the ceiling with approved materials, maintain access to utilities, and follow manufacturer instructions for every product.
Furnish the New Room for Everyday Use
Once the finishes are complete, furnish the room around its intended use and keep exits, windows, and electrical panels clear.
Measure the space before you buy, then plan furniture placement to preserve a clear route from the door and access to controls, outlets, and storage.
Anchor tall shelves or cabinets to wall studs, and use non-slip pads beneath lightweight pieces.
Keep heaters, lamps, and other heat-producing devices away from curtains, bedding, and upholstered furniture; follow each product’s clearance instructions.
Choose furniture sized for the room, with durable, easy-to-clean materials suited to daily use.
Coordinate decor styles with the room’s function, but don’t let rugs, cords, or decorative objects create trip hazards.
Check that windows open fully and that furniture doesn’t block ventilation grilles.
Reassess the layout after regular use reveals any pinch points.
Frequently Asked Questions
Will Converting My Garage Affect My Home’s Resale Value?
Converting your garage can increase your home’s resale value, but the result depends on buyer demand, workmanship, and whether you preserve convenient parking.
Check local permits and zoning before starting; unapproved work can complicate a sale.
Install proper Garage insulation and address HVAC considerations so the room stays comfortable without overloading your system.
Use licensed professionals for electrical, structural, and ventilation work, and keep documentation.
A functional, code-compliant conversion typically appeals more to buyers.
Can I Keep Using Part of the Garage for Storage?
Yes, you can keep part of your garage for storage if your conversion plan allows it and local building codes permit it. Define a separate storage zone, maintain clear access to exits, electrical panels, and equipment, and keep stored items away from heaters and other ignition sources.
Use secure shelving and suitable containers. Good garage organization and practical storage solutions help protect belongings while keeping the converted space safe, usable, and compliant with applicable requirements.
How Can I Protect Belongings Stored in the Garage During Construction?
Shield your stored belongings like a harbor protects boats: move them away from work zones, then cover them with sealed plastic sheeting.
Place valuables in lidded, moisture-resistant bins, raised off the floor, and label contents clearly.
Ask your contractor to isolate the storage area, control dust, and maintain safe access.
Check garage insulation work for exposed fibers, and use pest prevention measures, such as sealed containers.
Don’t store chemicals near heat, sparks, or construction materials.
What Should I Do With the Garage Door After Conversion?
After conversion, remove the garage door and frame, insulate the opening, and install a code-compliant exterior wall, window, or entry door.
Have a qualified contractor verify structural support, weather sealing, fire separation, and permits before work begins.
Extend Garage insulation continuously across the new wall to prevent drafts and moisture.
Plan lighting options around the room’s use, and have an electrician install properly rated fixtures and circuits.
Don’t leave an operable door unsecured or poorly sealed.
How Long Does a Typical Garage Conversion Take?
A typical garage conversion takes four to eight weeks once permits are approved, though complex projects may take longer. You’ll need extra time for design, inspections, material delays, or structural repairs.
Plan work in stages: framing, garage insulation, electrical wiring, plumbing, and finishes.
Hire licensed professionals for electrical and structural work, and schedule required inspections before covering walls.
Don’t occupy the space until it meets local building, fire, ventilation, and egress requirements.
Leave a Reply